Nautical Coasters

I had some cotton rope that I had gotten awhile ago planning to use it for a sew rope basket (that failed.) So I was glad to do this to use it up. I think I purchased the rope for $1 at our local Habitat for Humanity store. If you've never checked them out before you totally should for your next home project!
I made these for a Christmas gift for Carter's parents to use at their new cottage. I put them on these homemade spools that had all these crochet coasters that I had got at Salvation army. I got about 40 coasters and ten spools for around 50 cents total.
That makes this a 1.50 project for 15 coasters (I used the whole thing of rope.) That means it was about 10 cents a coaster!
What you'll need:
Rope (I used cotton)
Glue gun
Nail/hammer
Piece of scrap wood
Tape
Thumbtacks
PREP WORK
1. Print off this diagram of a Larks Head Knot in the size you want your coaster to be.
 |
| Print me off :) |
2. Cut it out and tape it to the scrap piece of wood. I just free handed mine because my printer was being stubborn.
3. Hammer a nail at the outside of each loop.
3. Hammer a nail at the outside of each loop.
 |
| Try to place the nail near the center of the loop. |

1. Cut a piece of rope roughly 4 feet long. The amount of rope you will use will depend on your rope thickness and how many rounds you do. I suggest you try making a coaster before cutting a piece of rope off, then cut this and use this piece as a guide for how long to cut your other coasters.
2. Place a small about of hot glue at each end to prevent fray. This will also make weaving the rope much easier.
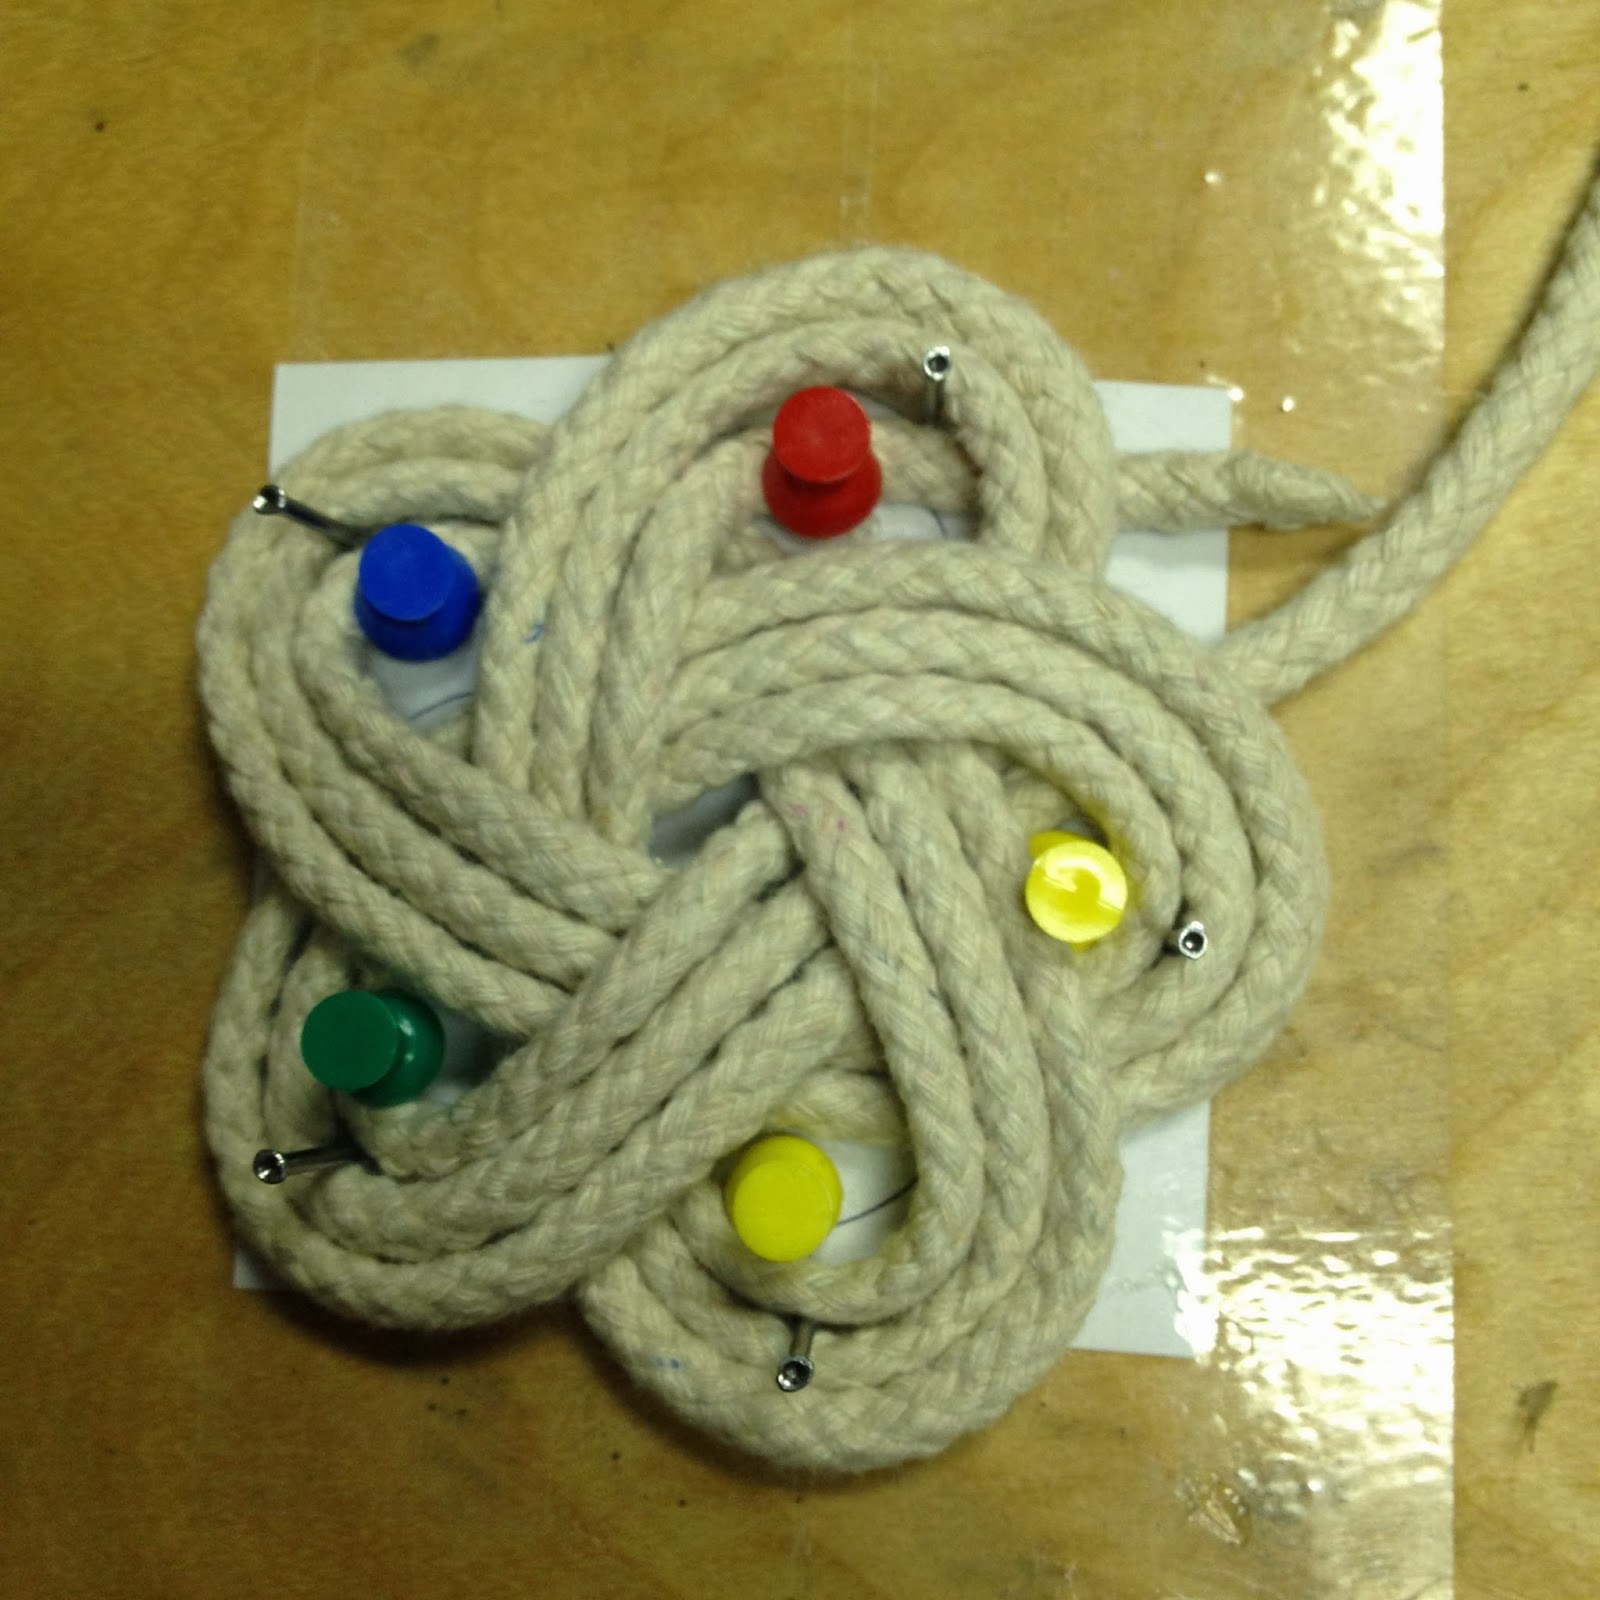
3. Begin by placing the rope with a 2 inch tail between on of the nails and thumbtacks. Then follow your Turks Head diagram to see if your rope should go over or under the other loops it crosses. Create your first round making sure the rope goes between all the nails and their matching thumbtacks.

3. Begin by placing the rope with a 2 inch tail between on of the nails and thumbtacks. Then follow your Turks Head diagram to see if your rope should go over or under the other loops it crosses. Create your first round making sure the rope goes between all the nails and their matching thumbtacks.

4. Repeat step 3, this time making your loops directly outside your nails.

5. Repeat step 3 again, this time placing your rope directly next to the second loop.

6. As you can see your coaster/trivet looks a little sloppy and loose. Pull the rope starting at the beginning of the first round. Continue pulling until the trivet is tighter and all the extra rope that had been making the coaster loose is at the end. (I know that is confusing but hopefully it makes sense!)
7. So since the tail is under some other loops, with the hot glue gun, place some glue under the loops to secure the tail in place. Then cut off the excess rope. 

8. Remove the thumbtacks and glue the beginning excess rope in place so it looks like the trivet is a continuous piece. Then glue each loop in place to the loop under it. This way your piece will keep its nice flower shape and won't look wonky.


0 comments